Showing posts with label acrylic paint. Show all posts

Tuesday, 19 September 2017

FOG Starts Another Year

The kids are back at school and the poplars are turning yellow so it's time for FOG to get back into the swing of things for another year.

As with any arts group we belong to and workshops we might take, we end up with a plethora of neat samples, but rarely to anything with them. To that end we have come up with a Master Plan for the year and that is to do a book, using past samples as pages and altering them as we go. It was suggested that we think of a theme for our samples to create a more cohesive book. In June we will assemble our pages into a bound book.

Not to be considered too strict in our approach and to avoid the Fibre Arts and Mixed Media Police 😉 we will spell off sessions and do some fun projects through out the year.

As in the past where we worked with new products and techniques, we will continue to do that as we work on the pages of our book.

For September we altered pages and fabrics with paint to give them some new life. We did come up with some interesting samples.

Just when you thought that your 1970's quilting fabrics (you all have them) were too ugly to use or that gingham might never be cool again, add some paint and a large rubber/foam stamp and you have created a wonderful new fabric ready for use.

Diane - Vintage 70's red print and gingham prints.
Off white and red acrylic paint with fabric medium.
Foam stamp.

Fabric upholstery fabrics are also great to work on and they are a great size for a book.

Betty - Two upholstery fabric samples.
It's hard to see on the left, but the large flowers are very dimensional.

I tried my hand on a piece of cotton, decorator weight fabric using both sides for much different looks. I used craft acrylic paints and fabric medium. Both foam and red rubber stamps seemed to work about the same. I used my Gelli Plate™ and brayered on the paint. The slight give of the Gelli Plate™ allowed the paint to cover the stamps.

Same fabric, two sides.
Foam and red rubber stamps, craft acrylic paints and
fabric medium.
Top - metallic paint
Bottom - craft acrylic

Marie - Top - red rubber stamps.
Bottom - wood block stamp.
Marie used a foam brush to paint her stamps.
Everyone uses a drop cloth or paper towel to paint on or clean up. Karen took hers to the next level with some interesting stamps on her very colourful drop cloth.

Karen - Paint splattered drop cloth and stamped images.

Top - Joyce - using a spatula to print.
Bottom - Meredith - Foam stamp on decorator fabric.
Lastly, Karen gave us all one signature from a library discard book so that we can also work on another project throughout the year. While we were stamping we cleaned up the extra paint by brayering onto the pages or pulling a print from a Gelli Plate™.

Karen - a couple of painted and altered pages.
Top - painted paper towel, looks almost like netting.
Bottom - Food colouring on coffee filters.

I think it is safe to say that we had a good time for this first session and I look forward to the year ahead. We are to bring back one finished page to our next session in October.

Sunday, 24 January 2016

Ah, Velvet...so plush, lucsious and meltable!

Knotted  Braid
It is January and cold....well it should be cold, but we have been having a wonderfully warm winter. And, after a busy Christmas and New Year's period we all needed an easy, yet creative day.

Just for a change, our warmup embroidery was changed slightly - to a knotted braid. This is the way many have made friendship bracelets over the years.  It can be used in embroidery as well and everyone was able to create a colourful braid sample.


Great start to the day!


Velvet embossed with rubber stamp

  After this, we moved on to embossing velvet.  Velvet can      simply be embossed with a hot iron, and a rubber stamp.    Just spray the stamp and place the velvet, plush side down  onto the stamp, and iron it (without steam) for about 30  seconds.  Different types of velvet will produce differing    images - the best type being rayon acetate velvet.

Pigment ink embossed velvet

Of course, we took this further, as an embossed image is not permanent. We used pigment ink pads to ink the stamp and then embossed the velvet.  The image is now permanent and you can add a contrasting colour to the velvet to enhance the image.  We also had some information from the net to use paint, but this really damages your stamp.  

We used rubber stamps, but clear acrylic polymer stamps will also work, as long as they are the high quality ones (generally made in the USA). The cheaper ones will melt, so don't use those!


Pigment ink stamp
Pigment ink stamp

Pigment ink stamp

And, finally we had to try yet another technique.......

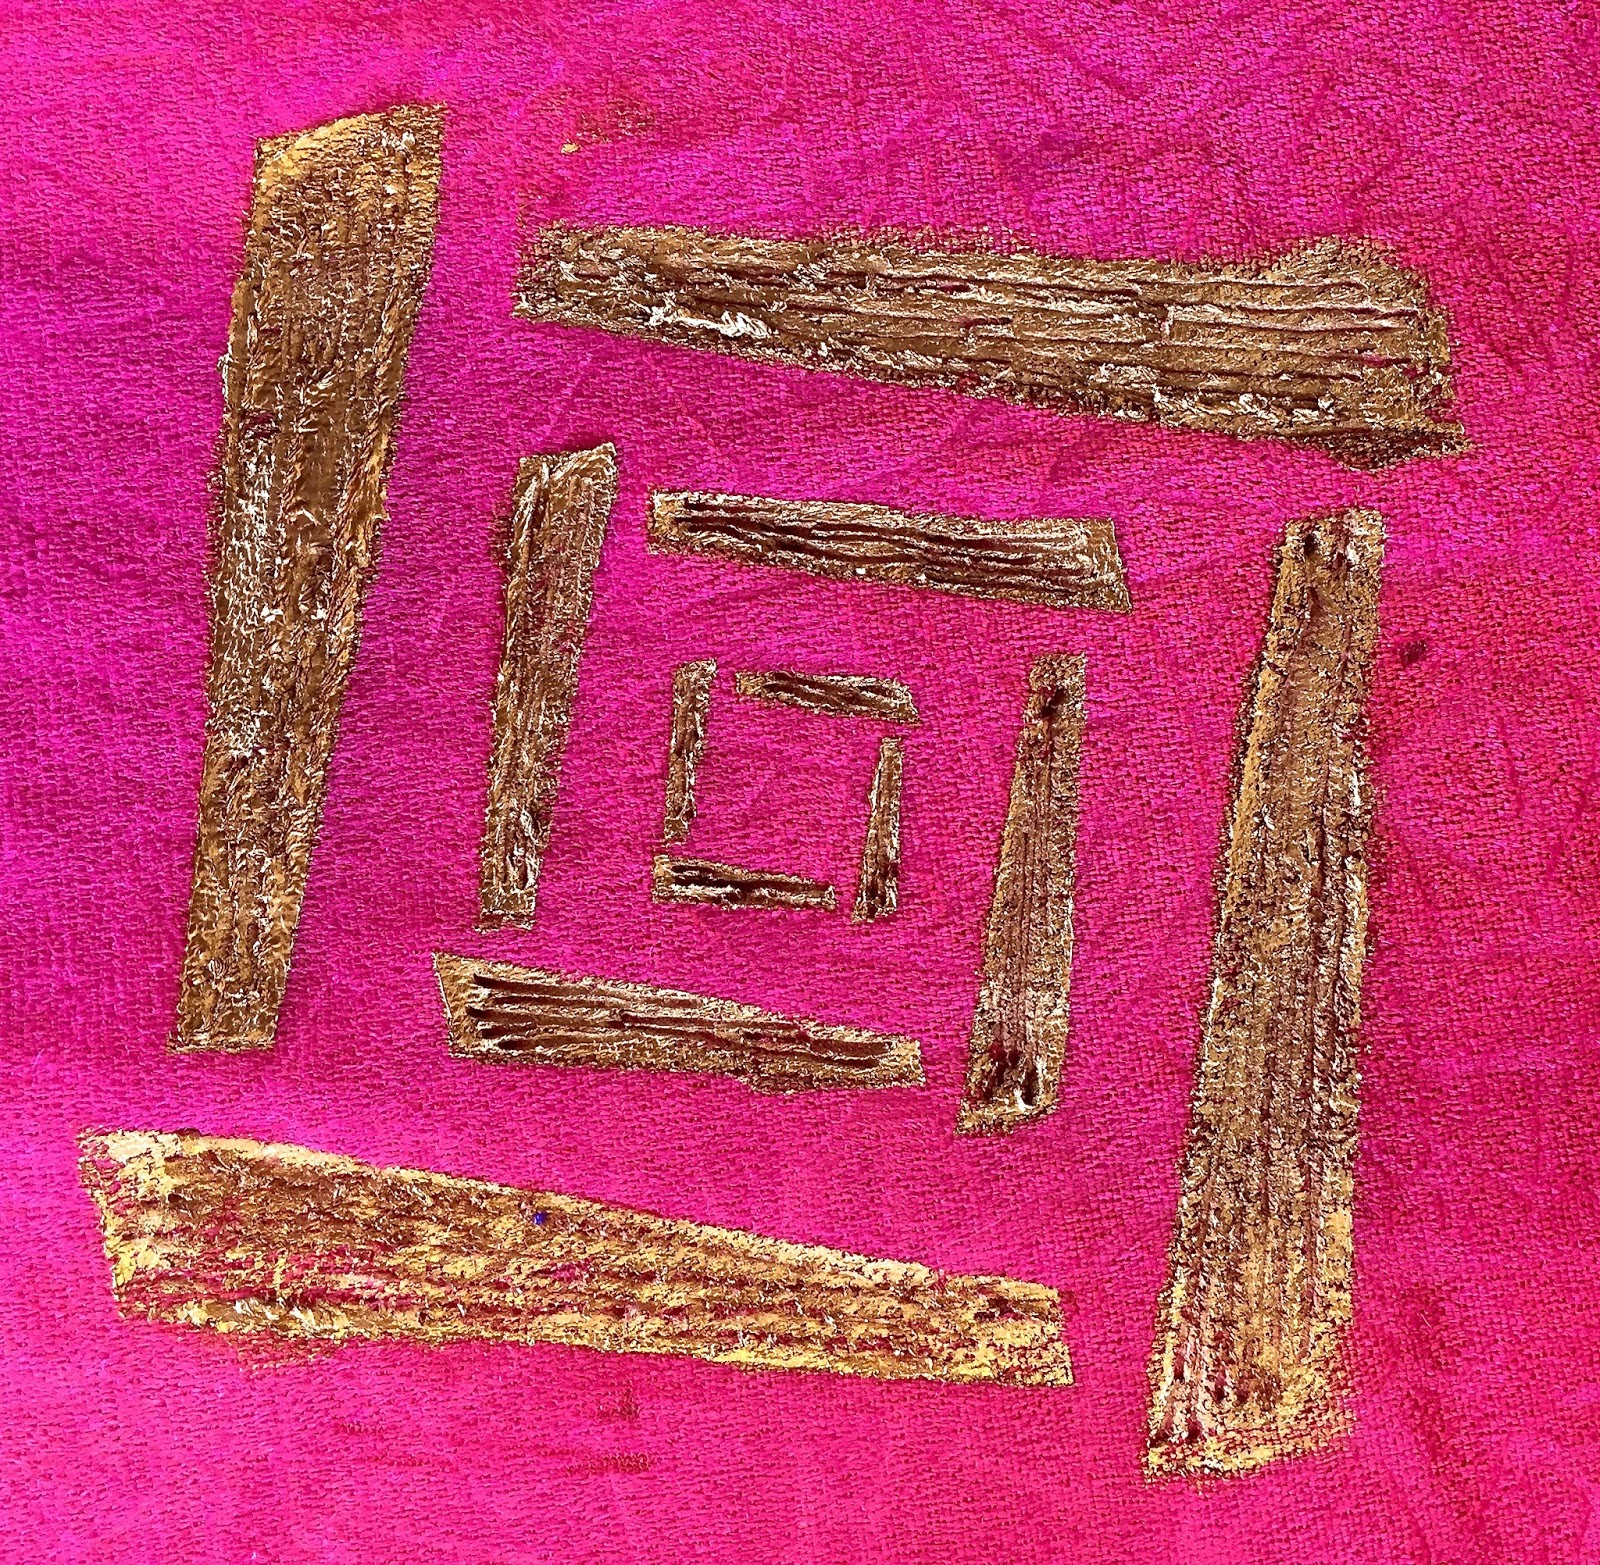
Acrylic Paint & soldering gun
Using a stencil, we used acrylic paint on the velvet and then used a soldering gun on the painted sections of the velvet to add some additional texture.........lovely results!

Acrylic paint and soldering gun

Velvet stencilled with acrylic paint


Some of us just liked the look of the stencilled velvet with no further actions.  Velvet seems to look great no matter what you do to it. It retains that rich luscious texture!