Showing posts with label Lumiere. Show all posts

Friday, 12 June 2015

FOG Tuesday - Amazing FAUX

June marked our last session until September and we started out with a very cool embroidery stitch, the DrizzleStitch. It is a 3-D stitch and garnered a lot of laughter while we were stitching. As a 3-D stitch we could see that there were lots of possibilities for its use on fibre art or other mixed media projects where stitching could be used.

Our final projects for the season were both FAUX in nature, the Aleenes Original Tacky Glue brown paper burning technique that emulates metal and the making of faux leather, also with brown paper. The latter conjured up many possibilities especially for those of us who stitch, as the final result was a very robust paper that felt and looked like leather.

More on both techniques….

Aleenes Original Tacky GlueGoogle Burnt Brown Paper for the entire story of when and how this technique came to light. The gist of the technique is to cover brown paper with a generous slather of the tacky glue and then hold it over an open flame. As the glue dries it bubbles and the soot created by the candle flame blackens the entire surface. Make sure to move the paper around so that you do not burn through your paper, though that and burnt edges make for some interesting effects. Buff off the soot and you have this amazing metal look. For more texture, you can move partially dry glue around to create ridges.

Burnt brown paper with a variety of finishes.
Aleene's Original Tacky Glue directly onto MDF. Glue was burned and heavier glue
manipulated for texture. A variety of metallic finished were applied.

A couple of cautions going forward with this technique – work in a well ventilated area, preferably outside and NOT on a windy day. It might also be prudent to have a bottle of water handy if the paper catches on fire.

Necessity is the Mother on Invention
How to combat a windy day in Calgary when trying to keep a candle lit!

The metal look can be further enhanced with Rub and Buff, Lumiere paints, mica powders and DecoArt Metallic Lustre.

We did discover that good old Elmers White glue also worked, though you needed to let it dry as it was more liquid than the tacky glue. Ultimately we felt that we got better soot coverage if both brands of glue were left until virtually dry. Otherwise, you would get soot on the dry areas, and the wet areas would burst and expose more glue, so you had to keep burning the glue until it was dry and sooty. It would really depend on the look you desired for the surface.

We even discovered that the technique worked on non paper surfaces like MDF, canvas, and wood. Brown kraft paper boxes and other shapes are much enhanced by this technique.
Brown kraft paper box with embossed sides.
Burnt brown paper.
Laughing Cow Cheese Box - burnt brown paper, grunge board star, buffed with
DecoArt Metallic Luster in Espresso and painted inside with acrylic paint.

Faux Leather – there are plenty of videos online about this technique and it can be approached from many angles once you understand the basic concept. Again we used brown paper, thick, thin, two layers fused together, card stock weight etc. All will produce a good result and the choice will depend on the end use.

Although some videos suggest the product to use is Ink Refresher by Ranger, others simply used glycerin and water. We certainly would recommend using the glycerin (cheaper and easier!), and not trying to find the Ranger product which is not available in Canada. In a spray bottle mix about 1 tbsp of glycerin with 4 ounces of water and shake. Spray the glycerin water on both sides of the paper, making sure to wet the paper, but not dripping wet. Massage the wet paper gently. Repeat this once again, if necessary, until the paper is darker in colour. Now crumple the paper in your hands. Flatten the paper out again and repeat the process of spraying, massaging and crumpling at least once more, perhaps a couple of times. As you continue to massage and crumple the paper the paper fibres break down creating a very pliable paper with a nice hand, somewhat like fabric. However, do not rub too hard or the paper will start to break down.

You can spray colour on before you start the process or, after each crumpling, rub an ink pad across the texture created by the crumpling. You will likely work on the piece for some time before you have the desired “faux leather” look that you want. To repeat our caution - you can overwork the paper and it may tear, so use a light hand.
Left, after acrylic wax was applied. Right, before.

Another couple of great ideas that you might consider are: running the paper through an embossing machine for added depth and texture. The second idea is to rub an acrylic wax on the finished paper for a leather-like look and feel, and to protect the colour.
Embossed brown paper faux leather.

The final product could be easily stitched by hand or on a machine and would make great journal covers.
 
Brown paper faux leather. It has a wonderful feel to it when finished.
From all of us at FOG, we hope you have a great summer. I hope to do some random posts over the summer to keep in touch and well return in the fall with another year of FOG Tuesdays.               Meredith and Jan

Thursday, 26 February 2015

FOG Tuesday - Air Dry Clay

You may not have discovered this, but we found that not all air dry clays are created equal! Unfortunately, we were not able to try all types. 

We purchased two air dry clays — the Crayolabrand and one from Dollarama here in Canada.

 Crayola Air Dry Clay

Overall I’m sure we would all agree that the Crayola™ brand was the better of the two commercial products. We tried the white version, but it also comes in terra cotta as well as a 3-pack of smaller tubs in coral, sunglow and emerald. It seemed more robust when dry and dried flatter than the Dollarama clay.

Dollarama Air Dry Clay

I felt that the Dollarama clay, when rolled too thin, warped when dry and was likely to break off along lines of design.

Both can be coloured with acrylic or Lumiere paints and highlighted with pearlescent powders or metallic rubs. It may be beneficial to seal the items with gesso before applying paint to the surface, particularly the Dollarama clay which, though touted to dry white, actually dried a light grey. 
Various techniques and finishes.
Both were quite easy to roll and form and could be reworked as required. Both took impressions made by Sizzix™ or Cuttlebug™ embossing folders, mould flexible mats, rubber stamps and other mark making tools.

Dollarama Air Dry Clay
Dollarama Air Dry Clay 


Although we put holes into many of the pieces so that we had a way to adhere them to other
projects, I’m not too sure how well they will stand up to that use, especially larger pieces. Their use as buttons and smaller items to sew or glue onto cards and fibre projects is likely a better use of these air dry clay pieces. One does need to remember that these would not be suitable for washed items as the clay would break down.

Leslie making buttons.
Vintage look plaque.
Two FOG regulars “cooked” up different home versions of air dry clay and we’ll have a better idea of their properties once the pieces are brought back for show and tell.

Karen's home made air dry clay.

Just a funny side note – if your diet is of any concern to you, then you might want to try the grey clay from Dollarama as it was labeled as being “Gluten Free”! Sheesh – do we really need to be told that or are there way more pica kids out there than originally thought?

Until next time…

Thursday, 16 May 2013

FOG Tuesday + Tyvek Bead Tutorial


At our FOG session Tuesday, we spent most of the day making beads. If you could roll it, paint it, glue it or melt it, we tried it - paper, Tyvek™, fabric, magazine pages, paste paper, organza, plastic bags and wool. 

One of the very easy ways to make a very interesting bead is to use Tyvek. Tyvek is a product used to wrap houses during construction and is also made into very durable, non-rip envelopes. We bought a box of Tyvek envelopes at Staples and they worked out to about 75 cents each. You can get a lot of beads from one envelope.
Tyvek Bead Tutorial
  • Paint both sides of the Tyvek using metallic finish acrylic or Light Body Metallic Acrylic Lumiere paints by Jacquard™. Tyvek dries very fast and takes very little paint to cover it. Lumiere paints were especially wonderful as they combine a colour with gold, so you get a big bang for your buck, so to speak.
  • Cut a piece of the painted Tyvek in a long triangle, about 1 ½" wide at one end and narrowing to a point at the other, or straight edge rectangle, about 4” – 5” by 1”.
  • Snip along the sides of the triangle, putting 1/4 inch slashes either straight toward the middle or on an angle.
  • Roll the Tyvek around a bamboo skewer, or knitting needle, starting with the wide end first and finishing with the pointed end. Pin the end with a straight pin to hold it together.
  • Using the heat gun, heat the bead. You will see that the Tyvek quickly melts to attach itself together, so you can remove the pin right away or wait until the bead is completely finished. The slashes you made along the Tyvek curl up and melt and create a really interesting texture to the bead.
  • Wait until the bead cools, then remove it from the bamboo skewer by simply sliding it off.

Wow!  Aren’t these great? They are a perfect addition to your next jewellery or mixed media piece.

Saturday, 22 December 2012

Paper Cloth & Foam Embellishments

Our December FOG session was a stimulating one. We were working with our paper cloth, or fabric paper (whichever term you like) from Diane’s demo at our November session, and using it as the background of our art piece. Pat came with hers virtually completed, but the rest of us were still busy working by lunch break. 
Completed Paper Cloth/Fabric Paper Samples
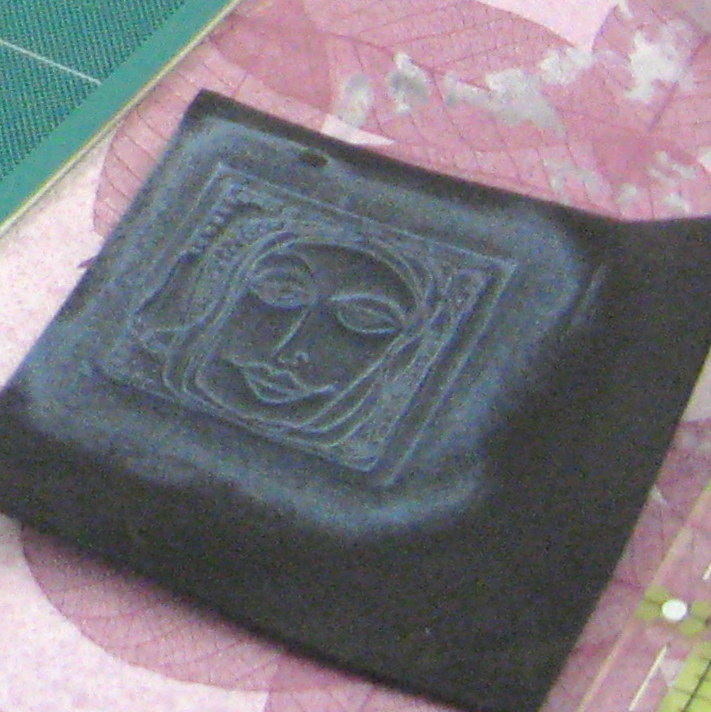
We spent the afternoon making Fun/Craft Foam embellishments. Yes, even though that sounds rather hokey, they really do turn out great. In a nutshell, you heat up your Fun/Craft Foam with a heat gun, press a rubber stamp into it until it cools and voilĂ , you have an embellishment ready for painting, inking, or colouring by other means. The harder red rubber stamps with simple, deeply etched designs seem to work the best.

We discovered that we could heat the foam sheets and run it through the dry embossing machine (Sizzix) to impress the image. This opens up a plethora of possibilities for designs. We also cut some shapes out of the foam, folded over the top (around a knitting needle), carefully heated the foam and impressed it. This makes a rather nice pendant, especially painted with the Lumiere paints.
Fun with Fun Foam
 We also discovered that not all Fun/Craft Foam is created equal. The thicker the Fun/Craft Foam, the better the impression of the stamp, or embosser. We were really churning them out and didn't get a lot of time to paint, ink or colour them. (Lumiere paint by Jacquard is the best for some metallic or pearlescent colour).
January Challenge
In fact, we were so enamoured with our efforts that we have decided to use the woman’s face for our January challenge, the start of an ongoing art journal project. Can’t wait!