Monday, 15 April 2013

Embellishing / Needle Felting Machines


Following our introduction to 3-D needle felting in March we decided to continue with that theme and do some form of flat felting in April. For those of you who are not aware, (and I was one of them) there is a machine, similar to a sewing machine, called an Embellishing Machine (Needle Felting Machine,) that makes life a whole lot easier to do needle felting over a large area. Many companies make them and the main difference between models seems to be the number of needles they use – some have 5 needles and others have 12. They use no thread, have no bobbin and have about the same amount of space inside the arm of machine. You can see in this picture of Jan at the machine what it looks like.

Diane has a HuskyStar by Husqvarna Viking and she brought hers along to FOG on Tuesday for us to try. After having used it I can’t imagine doing this by hand, even as small as a piece of felt.

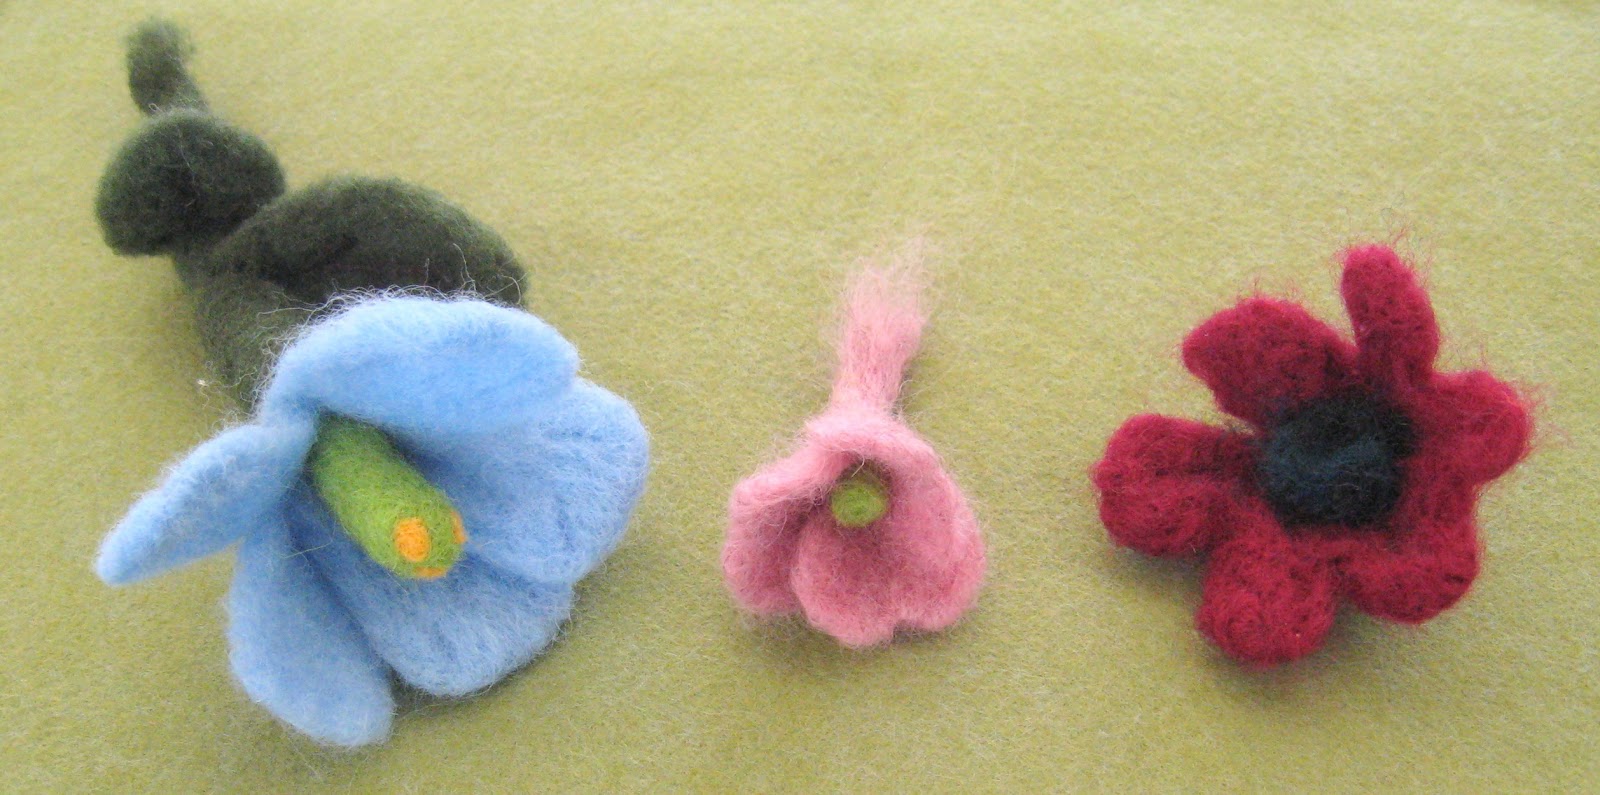
Using a backing piece of felt or other fabric, you design your piece by lying down and overlapping almost any items that you can think of – as long as the needles can penetrate the item. We used yarns, paper napkins, silk flower petals, wool roving, thread waste, ribbon, lace and all types of fabrics. Once your design is completed you overlay the entire piece with organza, tulle, netting – something that you can still see your items through, but will enhance the piece. We used an article by Rebekah Meier from an issue of Cloth Paper Scissors Magazine as a general guideline.

Then you take it to the machine and start to move the piece around under the needles that are moving up and down quite quickly. For those of you who free motion quilt, the process is about the same. We found that with some of the overlays that it was helpful to lay down wisps of wool roving to help the needles penetrate and hold all the layers together.

Now that our base pieces are completed we will spend time doing some hand stitching and embellishing with thread, beads, sequins and other items. As our pieces are completed we'll post them on the blog.

Sunday, 7 April 2013

Arts Club at the Library


What do you get when you mix a group of women with a morning away from home, kids and chores, a gray day and a bag filled with colourful supplies? You get intense stitching, bursts of laughter and a wonderful floral memory.

Our Fibre Arts Frenzy day at the Central Library in Calgary was to make a Soft Collage using a Fibre Optics Kit consisting of a piece of heat distressed felt, dyed cheesecloth, silk petals and leaves, embroidery thread and some wire to hang the finished project.

Jan and I had made several samples as inspiration for the group, but their own creativity took over and the results were awe-inspiring!


While their projects were nearly finished in the session I’m certain that there will be some additional finishing touches and a few embroidery stitches put into place for final inspection and completion. 

Thanks to the gals and to the library for another great session!                     Jan and Meredith

Monday, 1 April 2013

April Fool's Day Giveaway Winner - No Foolin'

Well, it's April 1 and time to announce the winner of our first "Thrill of the Hunt" giveaway in March.

We had a friend look at the three entries and she chose Phyllis for the variety of uses from her thrifty purchase of a bag of buttons. Phyllis, please send us your snail mail address and we'll put the non stick craft mat into the mail to you.

Thanks for participating and watch for another giveaway soon...

Sunday, 17 March 2013

The Wonders of Felt


I’m not certain when or who began making felt into yardage or squares, but it seems to be a craft item that has never gone out of style. Every church bazaar from the 50’s and 60’s had a variety of items made from felt. I’ve been going through a pile of Better Homes and Gardens magazines from that era and there are many items made from felt within their pages. I know that I’ll be dating myself when I say that I still have my first Christmas stocking, over a half-century old, hand crafted from wool felt and won by my mom at a church bazaar. And who doesn’t remember  the felt boards at school with all the felt shapes and letters? (OK if you are a 30 something or younger you may not remember).

Felt is a very inexpensive and forgiving product to work with. It doesn’t ravel and can easily be cut and sewn by hand. If you have pinking shears you can cut decorative edges and it can be glued to join pieces together. If you have one of the cutting systems that are now available (Sizzix, Spellbinders etc.) that come with shaped cutting dies, you can also die cut felt shapes for your crafting projects.

In response to a blog reader question about the dry needle felted flowers in the previous posting, I felt (no pun intended) that making multiple flowers from commercial felt would be a better way to go. I tried out a few of the many styles of flowers made from this humble crafting item. Here are my results.

What turned out to be my favourite one is the Scalloped Spiral.
In the photos I used a 5” square of commercial acrylic felt.
  • Fold your square into quarters and trim to a circle shape.
  • Cut a very loose spiral from the circle, starting narrow and ending wider towards the middle. Don’t make too many rounds.
  • Cut a scalloped edge on one side as shown.
  • Starting with the narrow end line up the non scalloped edge and wind the cut spiral around the centre core. Continue until the entire spiral, except the very inner circle, is wound.
  • Place a dab of hot glue at the final round to secure.
  • Glue the flat bottom of the flower and use the remaining felt to cover the base.

 Variations of the Spiral Flower can be made with larger or smaller circles, using pinking shears to cut the spiral or leave the edges unscalloped, as in the two cream coloured blooms with the green felt leaves.
 

Directions for the other style of flower I tested may be found at this site.

Friday, 15 March 2013

Because we FELT like it :)


Tuesday was FOG day and Jill, our talented needle-felting member, first gave us a demo of the types of wool, yarns, tools and tricks of the trade used in needle felting. Jill normally works in 3D so started us off with making a ball that turned into a rather frightening little monster. I can see that these would be a favourite with kids.

As we would not likely use these monsters in a fibre arts piece, we also tried our hand at making a 3D flower.

We spent the rest of the time experimenting with needle felting a variety of fabrics and fibres into other background fabrics. Diane was most creative with her butterfly. She had been making a pair of socks and didn’t like the toe so cut it off and needle felted into some wool fabric.


We enjoyed the day so much and could certainly see the potential for our fibre arts projects so we have decided to take a trip to the Carstairs Woolen Mills to buy more wool roving and dedicate part of our April FOG day to working with this medium again.  It might be advised to update your tetanus shot as the potential for sticking yourself with the felting needles is quite high. Ask us how we know!

Wednesday, 6 March 2013

The Thrill of the Hunt


I don’t know about the rest of you, but grocery shopping became less interesting to me when they started to use barcodes instead of price stickers. No longer could I scrounge around on the bottom shelf for the jar of peanut butter that was priced less than the ones at eye level.

I still enjoy “the thrill of the hunt” and starting today, Jan, my cohort in all things “cheap and cheerful” (to quote the Brits) and I will be sharing with our blog followers some of the escapades that we go on in search of interesting and frugal fibre arts and mixed media arts and craft supplies and where they may be found in Calgary and area.

With today’s frugal find we are also doing our first giveaway, a non-stick silicone baking sheet, a $2 find that is virtually identical to the non-stick craft mats sold by a number of companies for $15 - $25 dollars.

Our $2 find is a tad smaller than the others, but works just as well as the more expensive brands. This frugal find was purchased in Calgary at Bianca Amour Liquidation

In order to win today’s giveaway, post your favourite "crafty" frugal find in the comments area. We will have a third party pick the winning entry on April 1st and contact the winner for their mailing address.                       Cheers, Jan and Meredith

Sunday, 24 February 2013

Image Transfer Techniques

February FOG day was devoted to working on a "Valentine's" themed project, using something that was heat embossed with embossing powders. We worked on these in the morning and in the afternoon we experimented with just a few of the myriad of image transfer techniques.


One of these is the packing tape/clear contact paper transfer, a simple, easy and inexpensive transfer method. Find an image in a magazine that you want to transfer and cover the right side of the image with a piece of the packing tape, sticky side down on the image. 

Next, soak for a short time in a bowl of water. Once it is wet begin in the centre and with your thumbs or fingers start rolling the magazine paper from the back of the tape until only the image is left. The really interesting thing about this type of transfer is that there is no white colour applied to a magazine page, so when you remove the paper, you are left with clear tape.


Two other methods that we tried were:

Artist Transfer Paper by Lesley Riley